
Reworking a Savage Axis 6.5 Creedmoor Rifle
Share the post "Reworking a Savage Axis 6.5 Creedmoor Rifle"
My original rifle for this project was a new Savage Axis rifle in 6.5 Creedmoor caliber that I won at a benefit banquet. I anticipated enjoying hours of shooting this new rifle, but quickly learned that it needed to have its rifle barrel reworked.
As per my usual process with a new rifle, I mounted a good scope on it, cleaned it, bore-sighted it, and shot it. I wasn’t happy with the groups I was getting, using two different loads from Hornady (140 grain ELD Match, and 147 grain ELD Match) and one handload with four different powder weights (140 grain ELD bullets, H4350 powder @ 38.1, 39.0, 40.0, and 40.9 grains). There wasn’t much difference among the group sizes of any of the loads; the groups were twice as big as those fired from my S&W M&P 10 in 6.5 Creedmoor, and I knew a good bolt-action rifle should be able to shoot at least as well as an AR-type rifle.
I was not happy about the so-so group sizes, and after examining everything else I could think of as causative factors (action bedding, scope ring and mounting screw torques, etc.) I used my borescope to see if the problem was in the bore. The bore looked OK until I examined the last two inches or so of it at the muzzle of the barrel. There was severe corrosion pitting of the entire last two inches of the bore reminiscent of the entire original bore of a 1913 Spanish Mauser barrel I used to have that had been fired in its early days using ammo with corrosive primers.

Corrosion damage to rifling 1
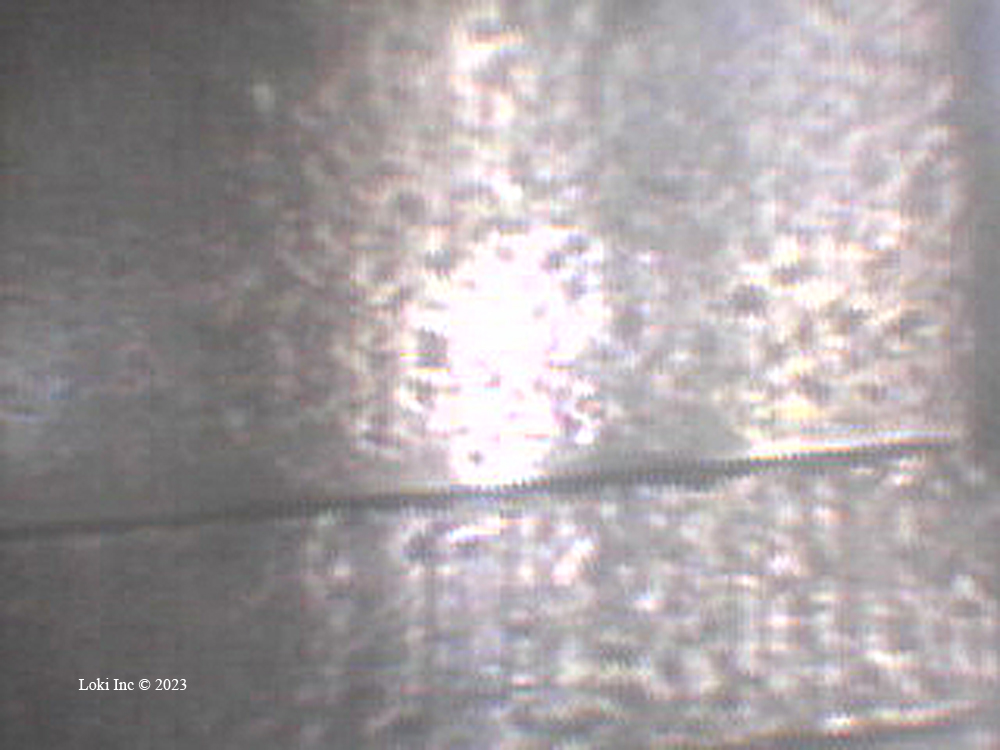
Corrosion damage to rifling 2
Reworking a Savage Axis 6.5 Creedmoor Rifle
Therefore, if I wanted to improve the group size, at the very least I would have to either cut-off the damaged part of the barrel and re-crown it, or re-barrel the gun. I decided to re-barrel the gun, rather than lose ammo velocity by shortening the barrel. At the same time, I decided to improve the trigger pull consistency and weight.
After searching around the Internet for replacement 6.5 Creedmoor barrels, I decided to buy a varmint (heavy) contour barrel from E. Arthur Brown Company. I already had a Savage barrel locknut wrench, but I needed headspace gauges to properly install the barrel, so I also ordered a Forster No-Go gauge from eabco.net, and as eabco.net didn’t have any Field Gages in stock, I ordered one of those from Amazon.
As the Forster directions say:
“The “No-Go” Gauge is used to set your headspace when installing a new barrel. Forster gauges allow for a very close .004” headspace setting with the Forster NO-GO gauge. SAAMI spec allows up to .010”. So if your action closes on this gauge it doesn’t mean you have excess heads space. … Only that its more than the gauge allows. We recommend NO-GO gauge for setting the headspace on a bolt action barrel installation. … We recommend the closer fitting NO-GO gauge for installing a new barrel on a bolt gun.”
A Field gauge is for checking that the headspace is not too long, after setting it with the No-Go gage.
Because the new varmint barrel had a different contour than the original Axis barrel, and the original Axis gunstock was made of webbed plastic, there was no easy way for me to re-cut the barrel channel in the gunstock.
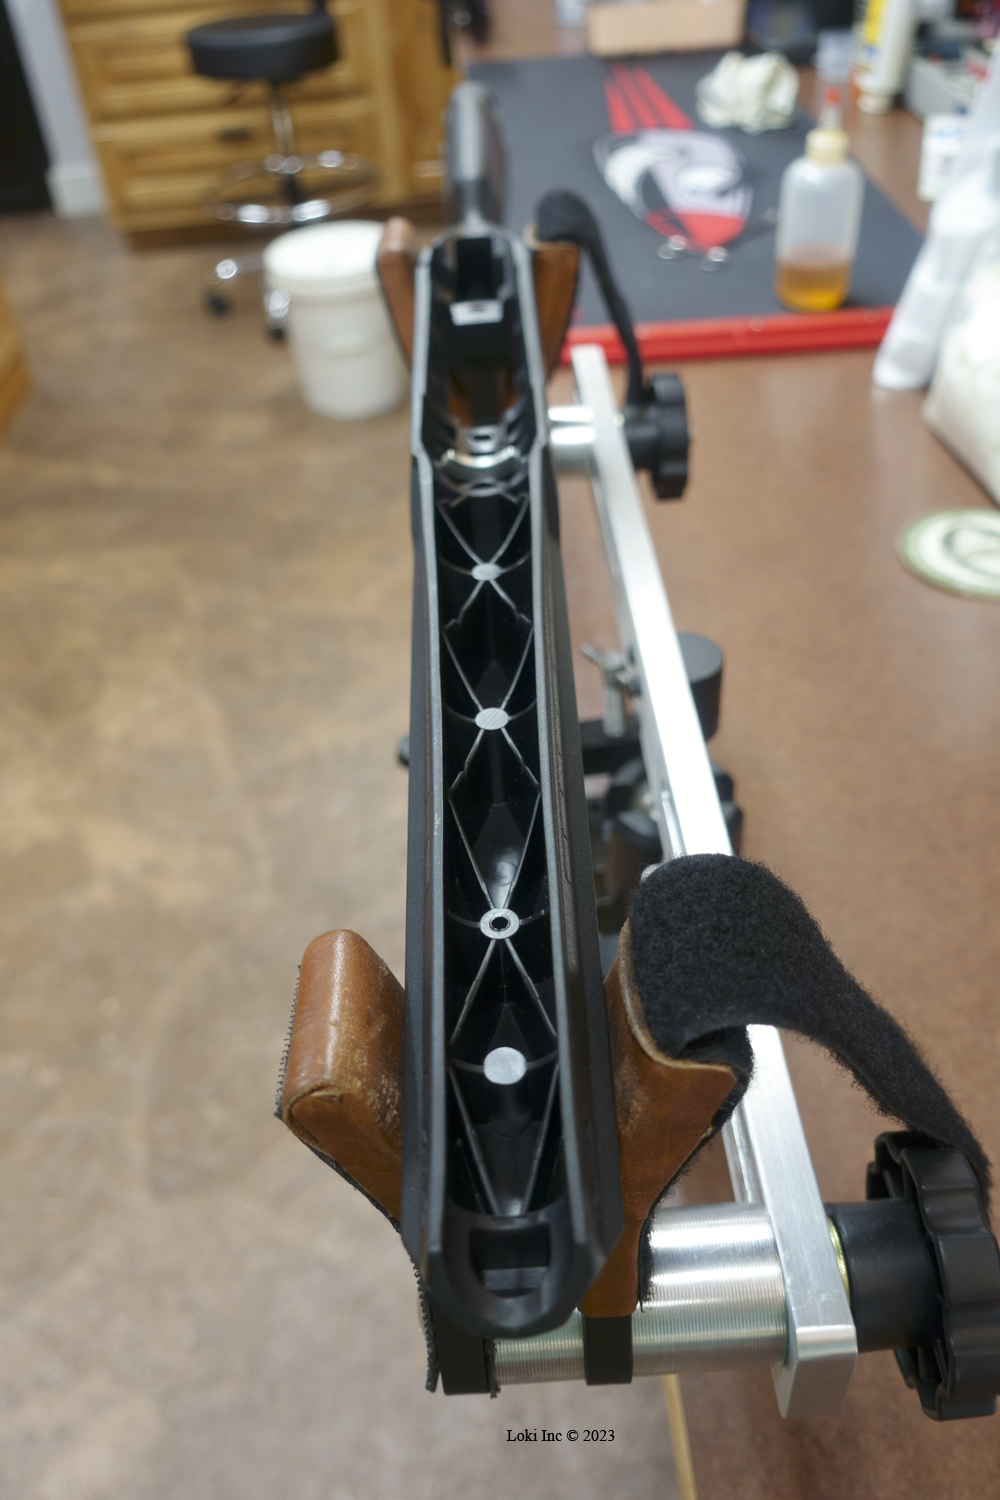
Barrel channel of original Savage rifle stock
Therefore, I needed a new gunstock. I spotted a Boyds Hardwood Pro Varmint gunstock on sale at Optics Planet that would fit my Axis with its new barrel, so I ordered it. I knew that it would take a bit of fitting to get the barrel channel relief I wanted, but I already had a set of barrel channel bedding tools that I could use for that task.
The receiver and chamber portion of the rifle fit well into the Boyds gunstock, but as I suspected I needed to cut some material out of the barrel channel to achieve a business card gap thickness between the barrel and the stock.
The stock came pillar bedded, and I may decide to glass bed the stock later after I shoot the reworked rifle, if I think it needs it.
I decided to improve the stock trigger on the Axis while I was doing all this other work on the rifle. What I did was similar to what the Hunting Gear Guy did, except that I already had a set of small gun springs and screws I could use. I recommend using springs specifically made for guns for the overtravel spring, and choosing the correct length instead of cutting coils off a longer spring. I also smoothed the mating surfaces (along the top) of the trigger sear – don’t try to do anything but slightly polish these surfaces, or you’ll make the trigger unsafe by taking off too much metal.
I wanted to mount a Leupold Mark 5HD scope on the rifle, and needed medium height rings to fit a 35 mm scope body diameter, so I purchased a set of Leupold Mark 4 rings for the project.
I assumed the scope base on the original Savage rifle was a Picatinny pattern rail, but when I checked the rings against it I was dismayed to find the rail slots were not in the Picatinny pattern; they were narrower and spaced differently than the slots on a Picatinny rail. I don’t know; they may have been Weaver pattern, but my rings wouldn’t fit in the slots.
So, I bought a Leupold Mark 4 one-piece base with a 20-MOA taper to fit a Savage 110 round receiver, after checking to make sure it would also fit the Axis receiver.
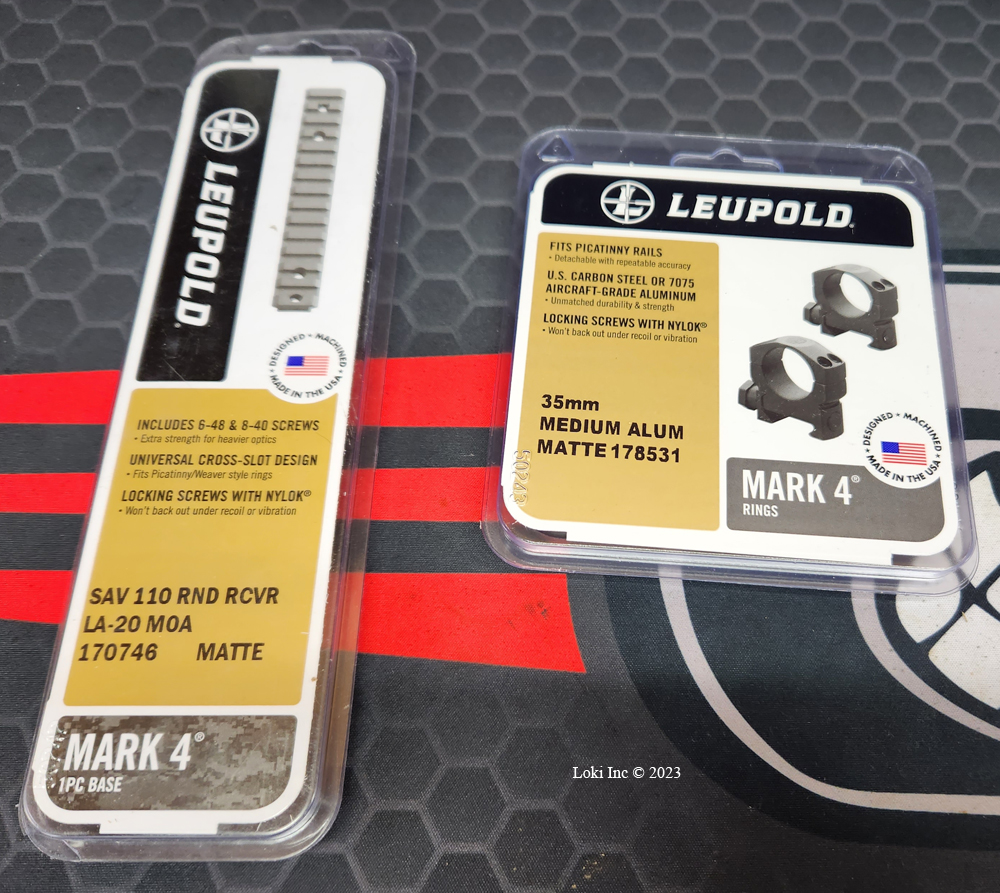
Scope base and ring set
Most of the aftermarket items made to fit the Savage 110 will also work on Axis receivers, but check before you invest in one. I removed the original Savage scope base rail, and cleaned the mounting holes with carburetor cleaner to degrease them. After letting the carb cleaner soak the mounting holes for a while, I used cotton swabs to absorb as much of the cleaner from the holes as possible, and then I blasted the holes with canned air to dry the remaining cleaner.
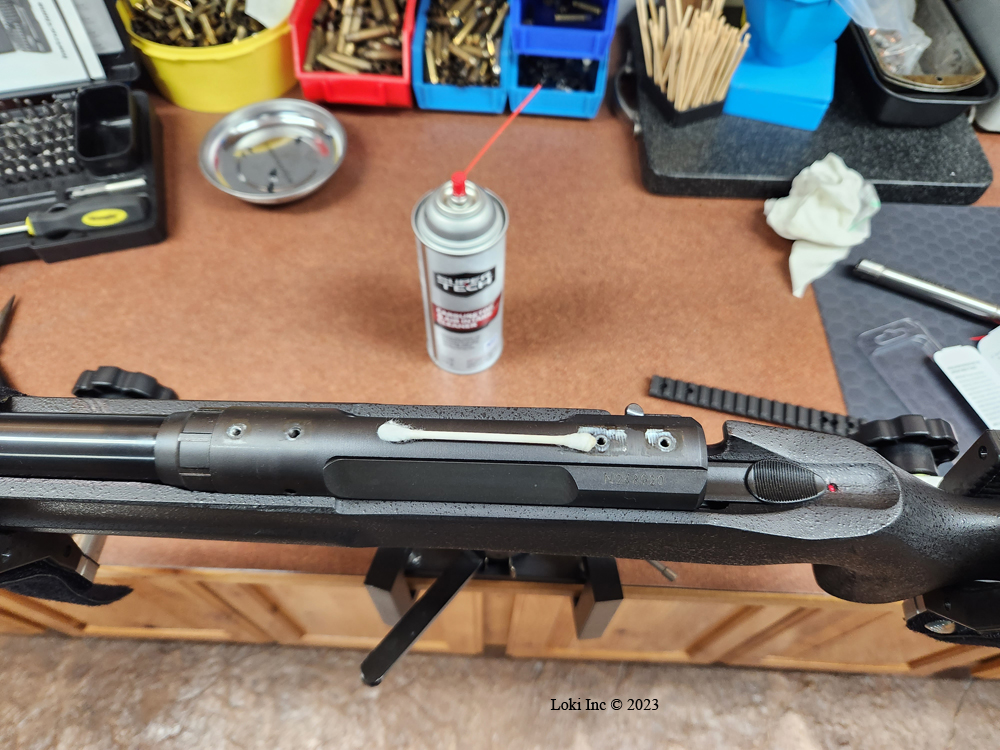
Degreasing receiver top and scope base mounting holes
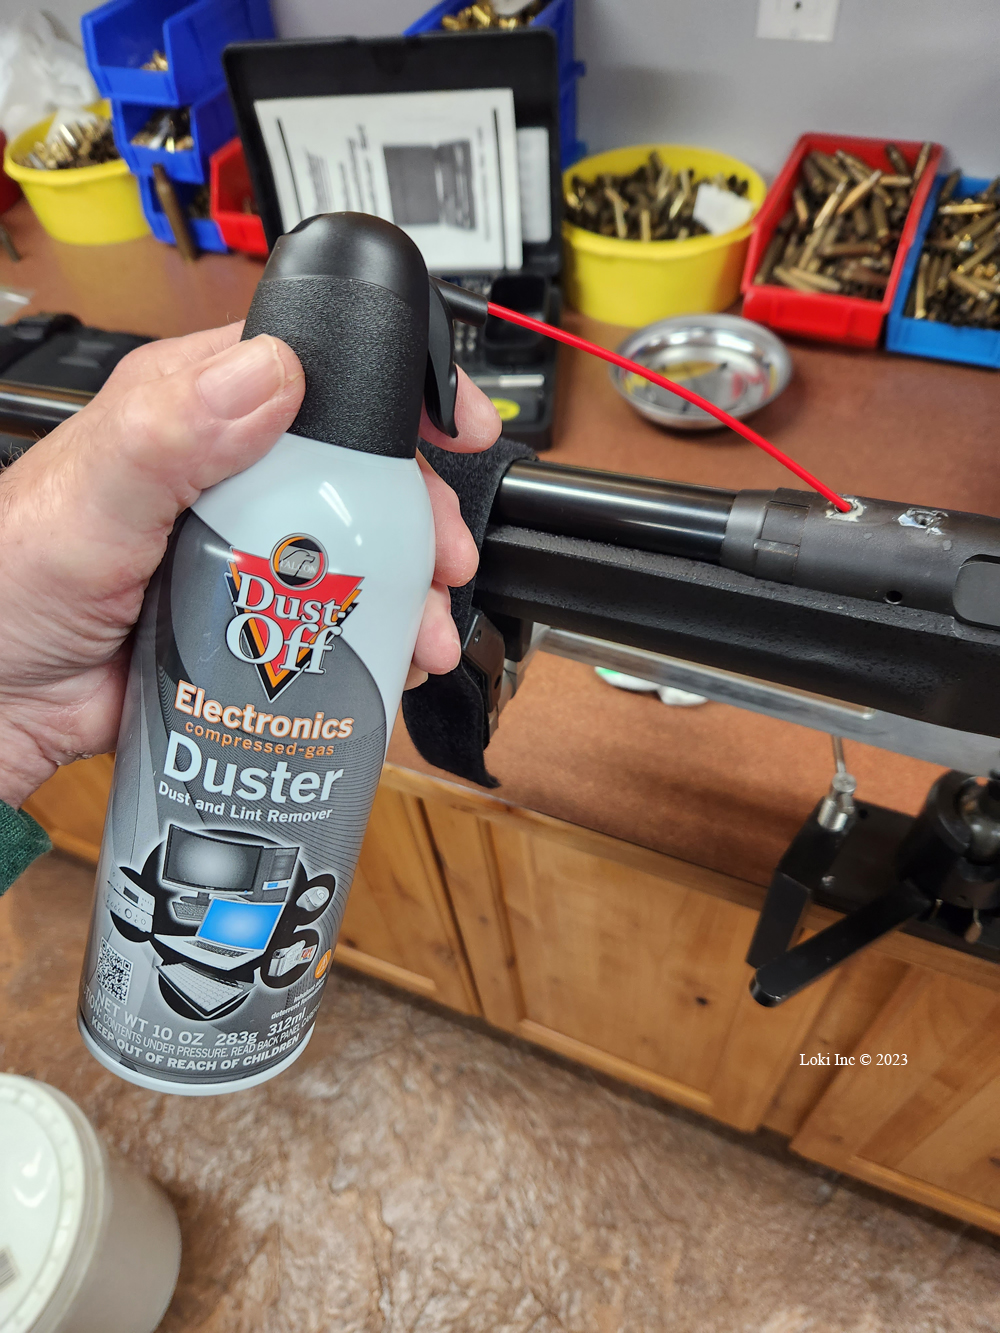
Drying degreaser out of mounting holes
The base came with both 6-48 and 8-40 screws. After pre-mounting the new Mark 4 base to make sure the screws would line-up with the receiver holes, and that the screws fit the holes, I used a torque wrench to secure the screws in the holes. The instructions that came with the base said to use 22 in-lbs for the 6-48 screws, and 28 in-lbs for the 8-40 screws.
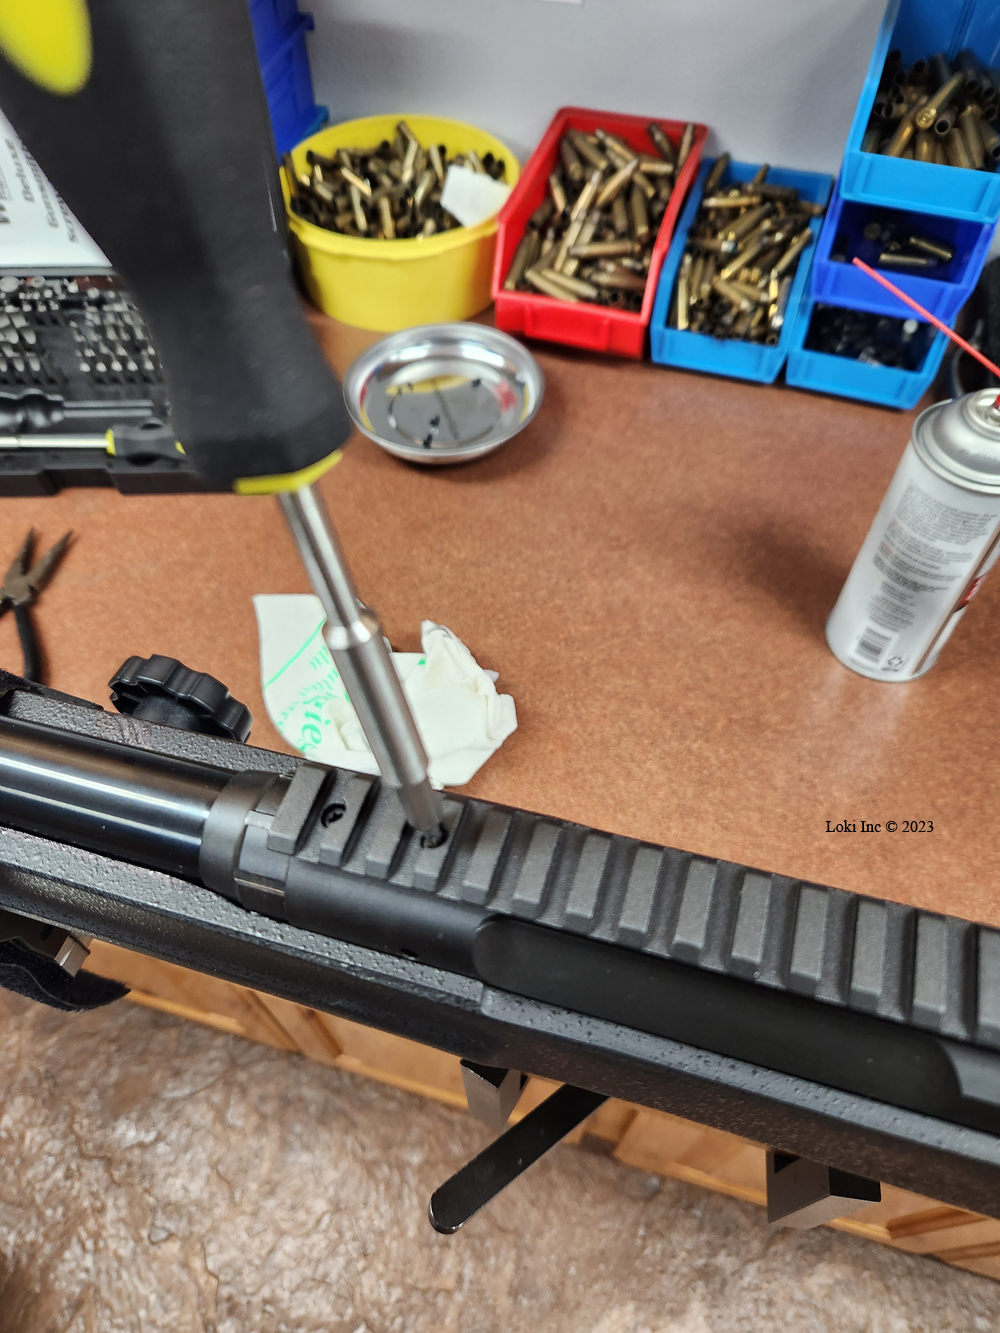
Installing scope base mount screws
Because the base had a 20-MOA taper, I had to be sure to mount the base in the correct orientation. To do this, I merely mounted the base with its arrow mark on the underside so the arrow tip pointed to the gun’s muzzle.
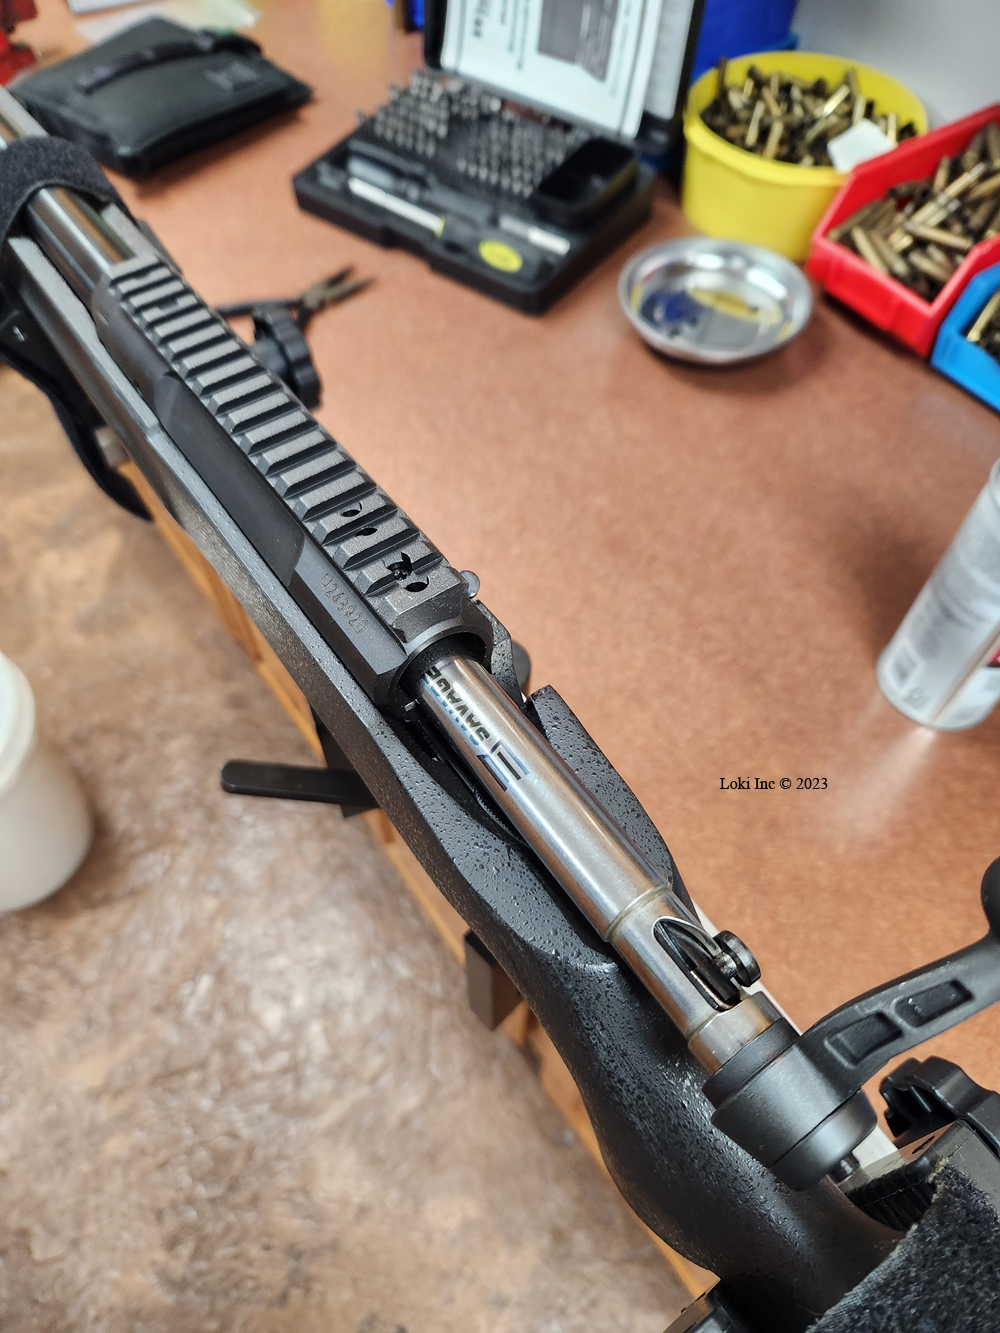
Scope base on receiver
Leupold used a Nylok® thread locking system on each of the screw threads for the base, so I didn’t have to use any liquid thread locker compound.
I removed the Torx screws holding the halves of the Mark 4 rings together, and positioned the lower halves on the base while ensuring the lug on each ring lower half engaged a slot on the rail. I set the variable-power scope to its highest magnification setting and carefully placed it onto the ring lower halves. I checked the front and rear ring positions to make sure they would hold the scope securely when fully mounted. I like to have the rings as far apart from each other as the scope will allow, giving the most stable scope mounting position.
Placing scope on lower bases to check eye relief
Once I established the lower ring positions with respect to the scope, I loosely installed the upper ring halves onto their respective lower halves. I tightened the ring screws finger-tight, enough to keep the upper halves (and the scope) from falling off during the next step.
I carefully lifted the rifle to my shoulder to check the eye relief, or distance from the scope eyepiece to the shooter’s eye. One has the proper eye relief when vignetting is minimized while looking through the scope; to achieve this, I mounted the rifle to my right shoulder in the way I would instinctively when shooting, and then I looked through the scope while slightly moving the rifle forward and backward relative to my right eye. One achieves the correct eye relief when the circular area enclosing objects visible through the scope is maximized, while the dark border at the periphery of that area (the vignette) is minimized. Then, I moved the scope ring positions (with the scope in place) so that the vignetting was minimized.
Having decided where my scope would be fixed into position, I removed the ring upper halves and the scope, placed the rifle in my rifle vise, and used a small level on the scope base to level it.
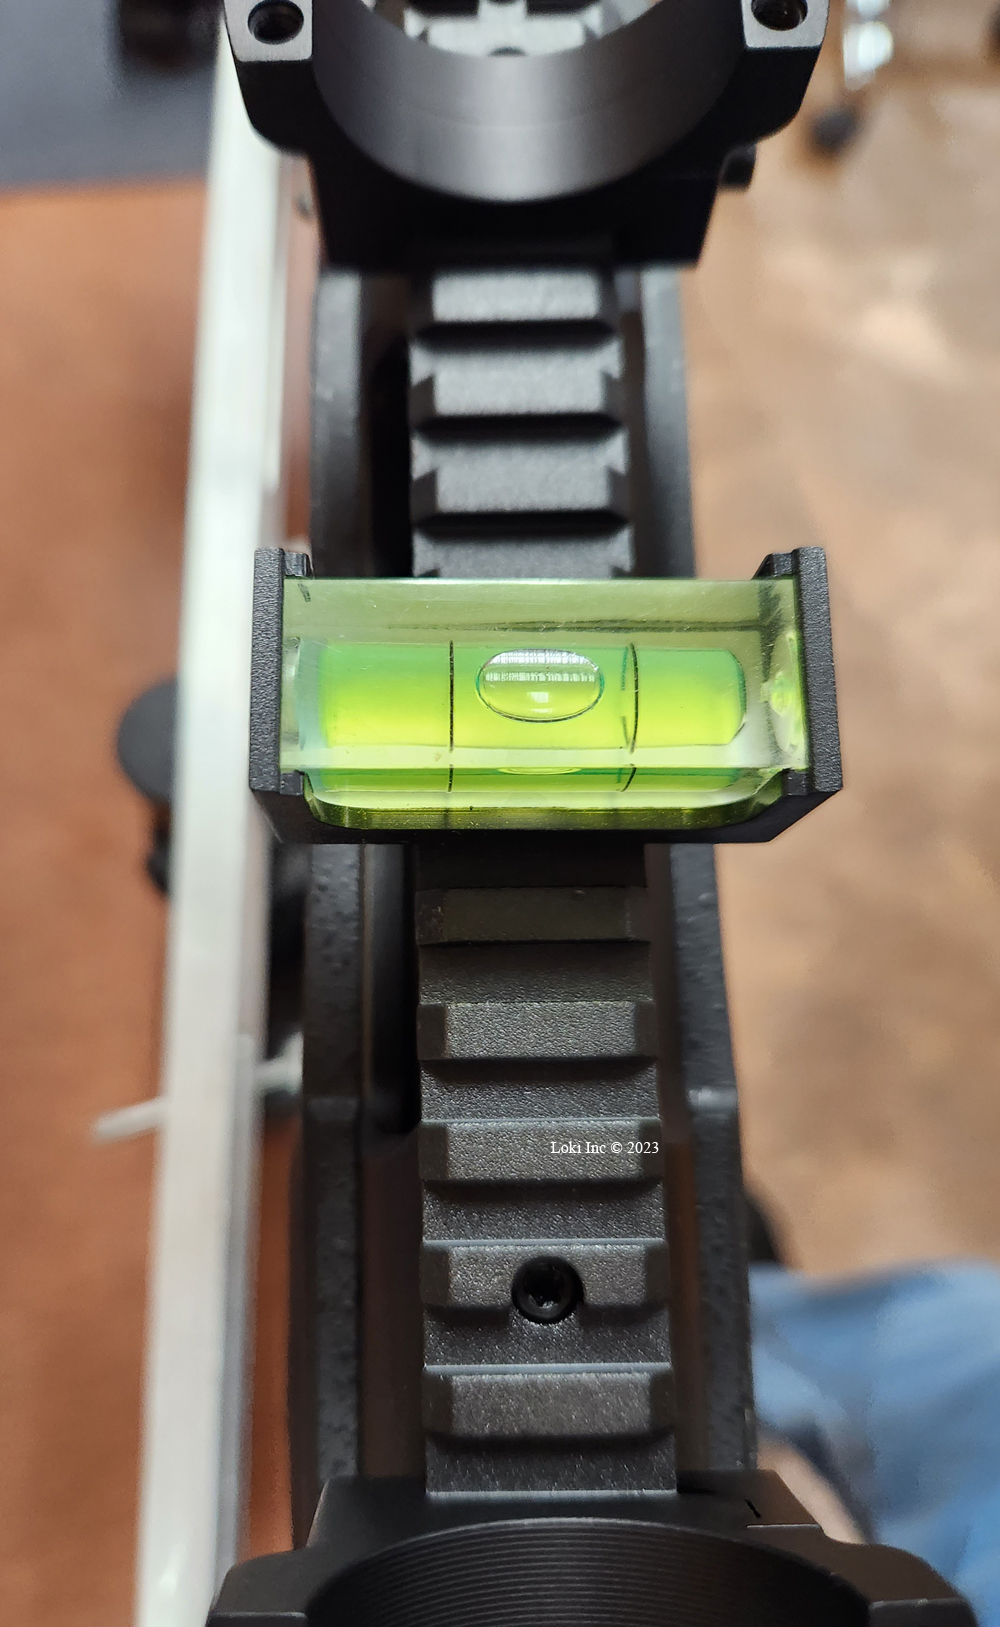
Checking level of base prior to leveling scope in rings
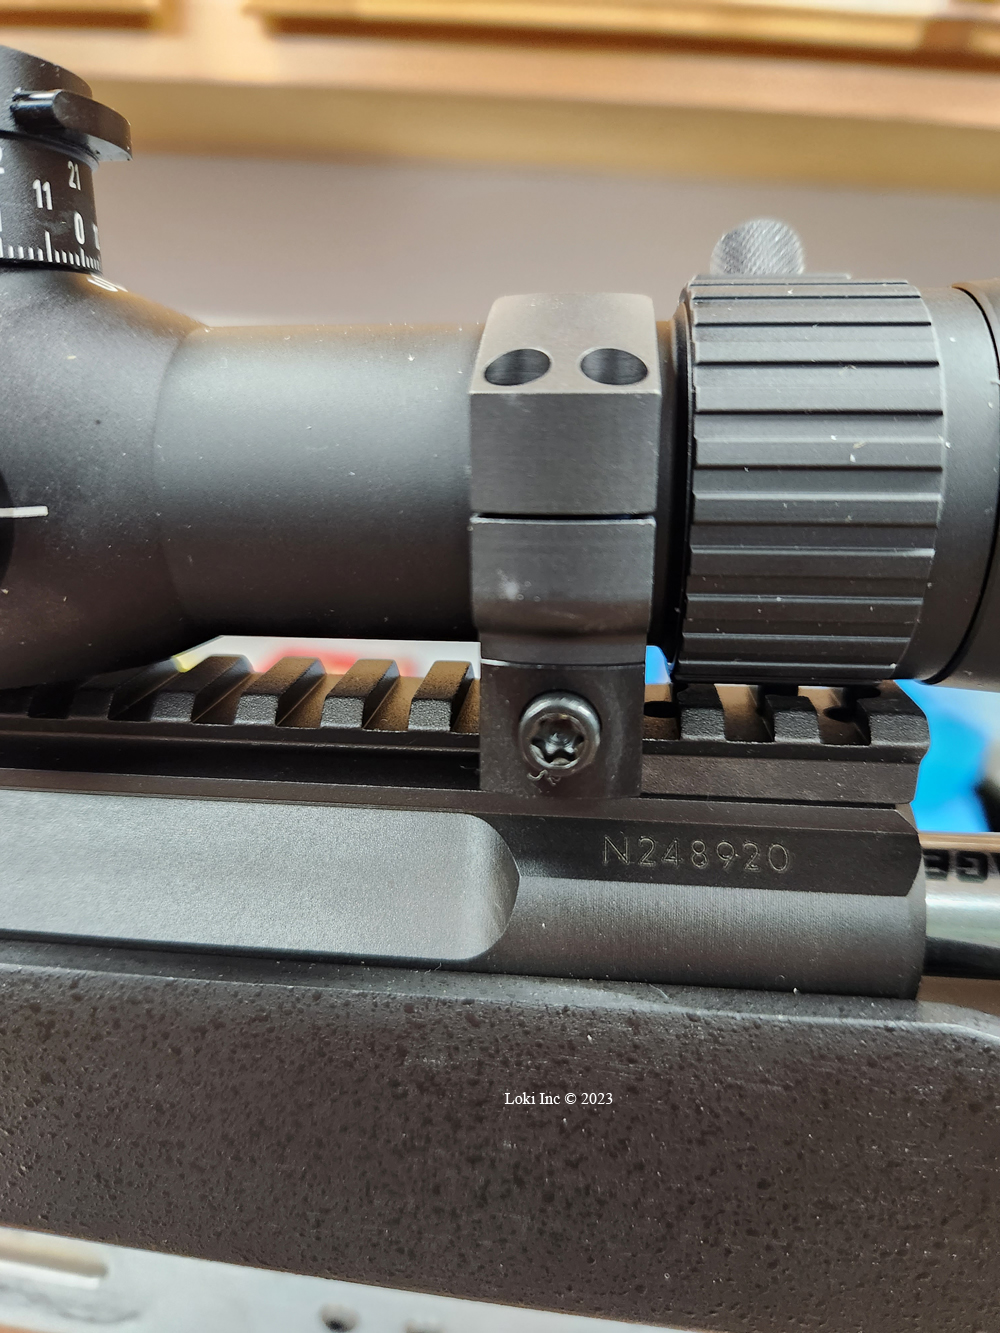
I also torqued each lower ring mounting bolt to the correct amount, 45 in-lbs, to secure the lower rings to the base in their correct positions while pushing each ring forward against its rail mounting slot.
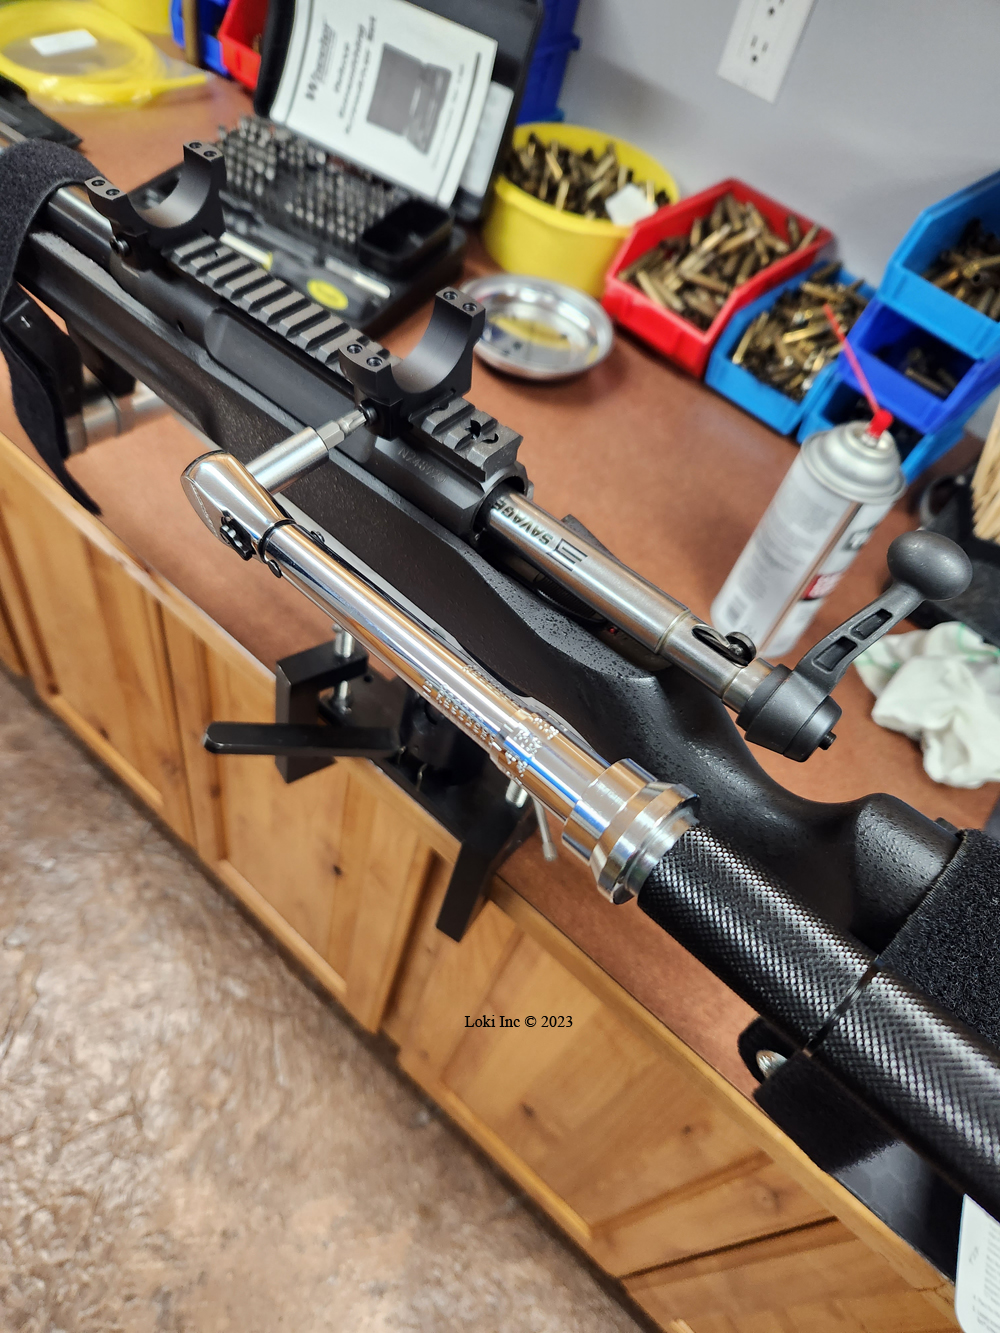
Using torque wrench to tighten lower halves of rings on scope base
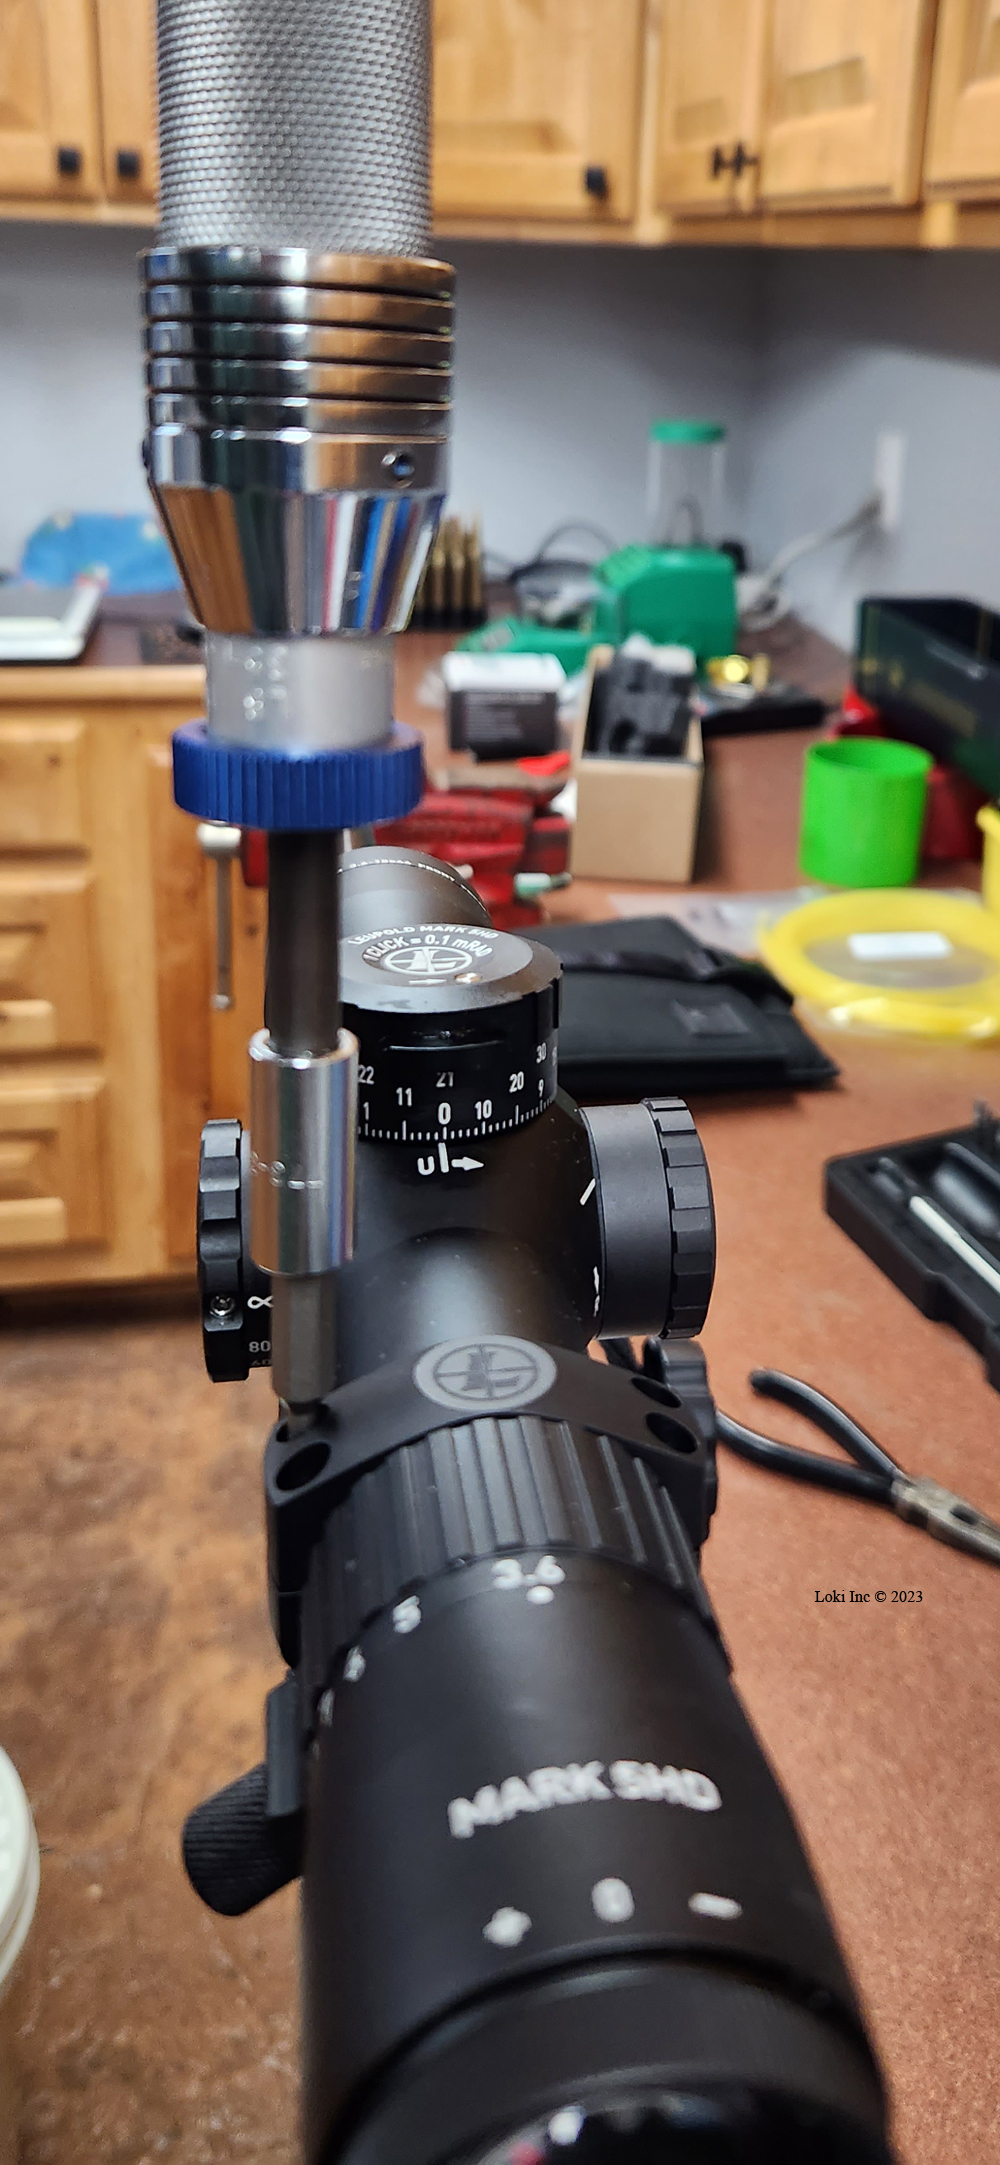
Then, I put the scope back onto the lower rings and used my level atop the vertical crosshair adjustment turret to level the scope on the (already) leveled base.
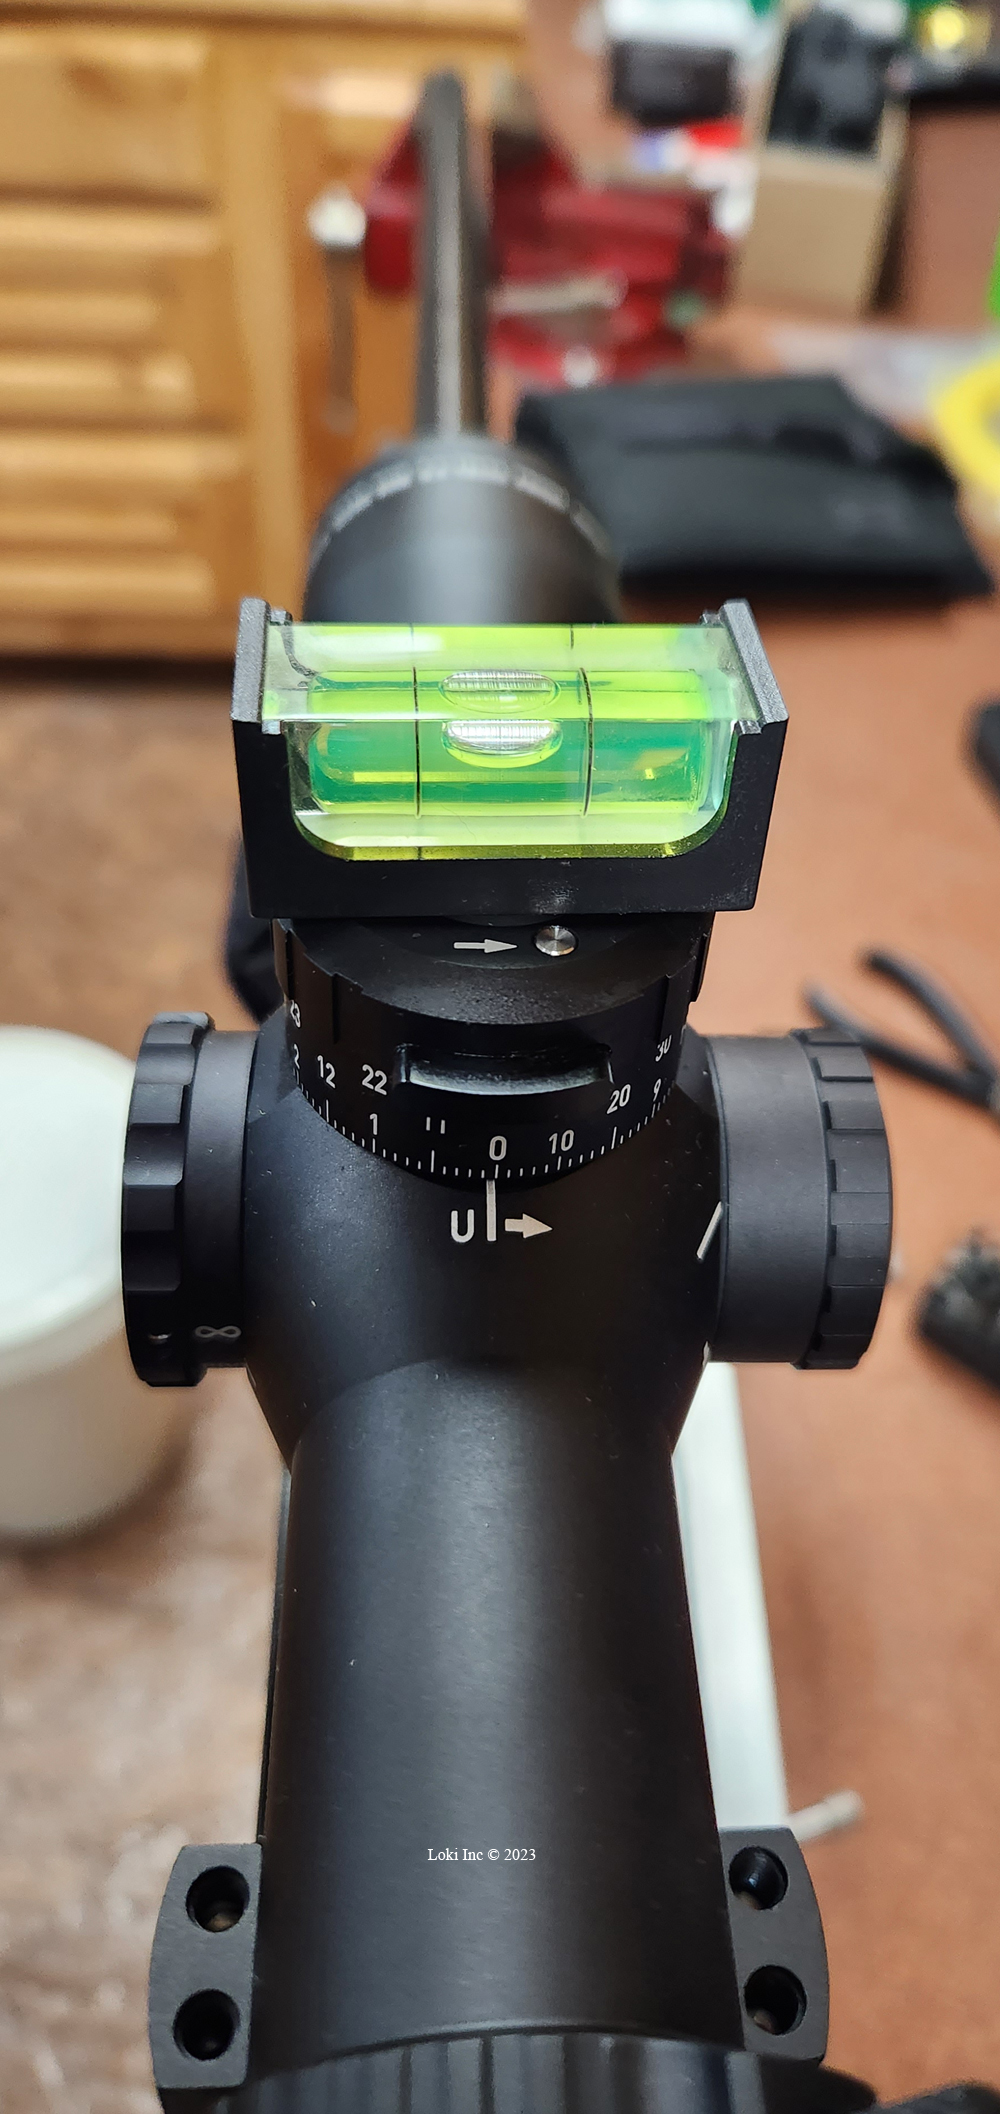
Checking level of scope prior to installing ring upper halves
Next, after installing the upper rings, I snugged the ring screws down enough to keep the scope from slipping or rotating. I shouldered the rifle to check that the eye relief hadn’t shifted, and that the crosshairs were vertical and horizontal. If not, or if there was a shift, I would have re-done those steps in the scope mounting process until the eye relief was correct and the crosshairs oriented correctly.
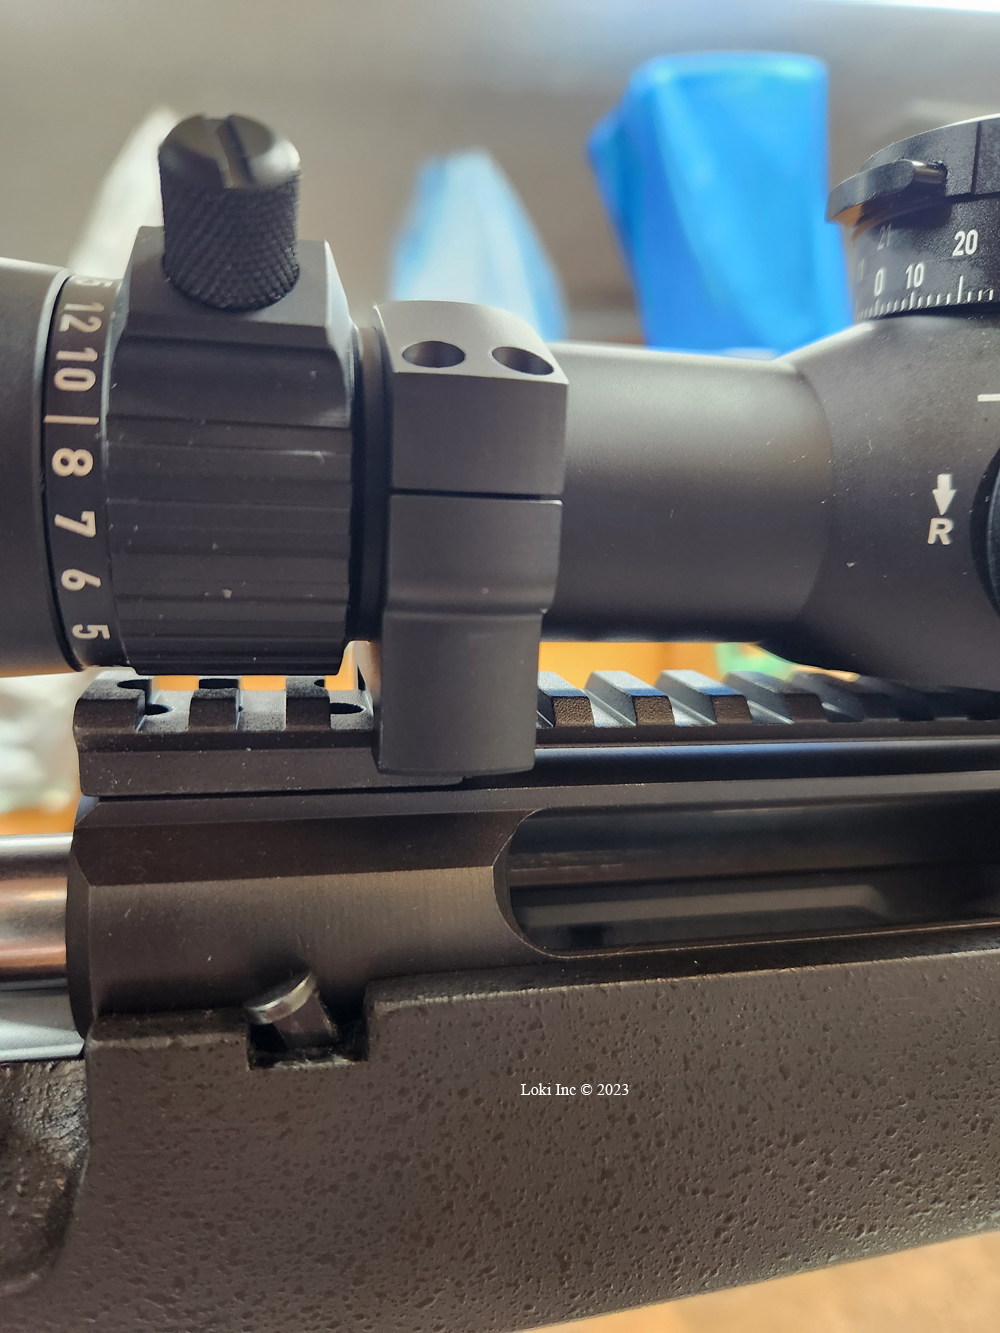
As with the base, Leupold used a Nylok® thread locking system on each of the threads on the ring screws, so no additional thread locking was required. I used my torque wrench and tightened the ring half screws to 28 in-lbs per the instructions that came with the rings.
Using torque wrench to tighten scope ring screws
I made sure to use a crossing pattern when tightening the screws, gradually tightening them while checking the gaps between the top and bottom ring halves to ensure even spacing
Ring gap right side
Ring gap left side
This is critical to ensure the scope rings exert an even squeeze on the scope.
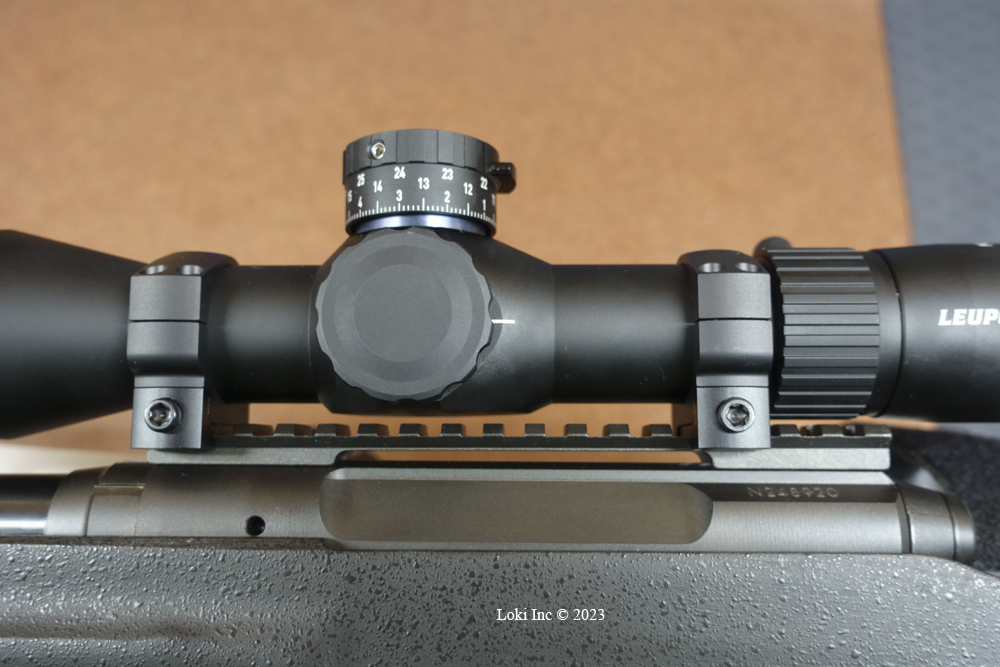
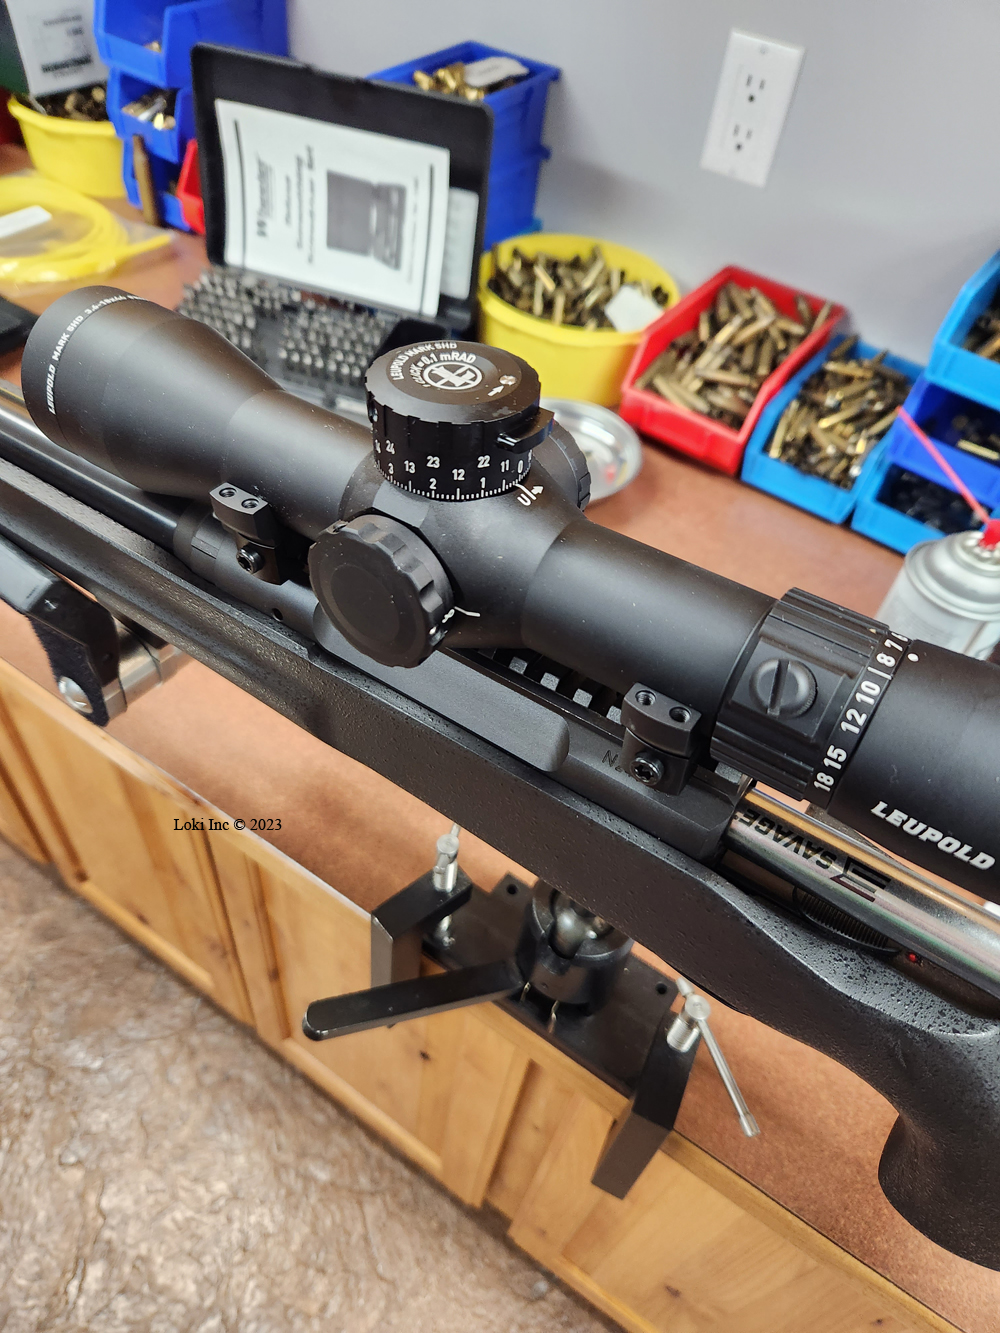
Scope mounted on 1 piece base
A sunshade came with the scope, and I purchased Leupold scope caps to complete the setup.
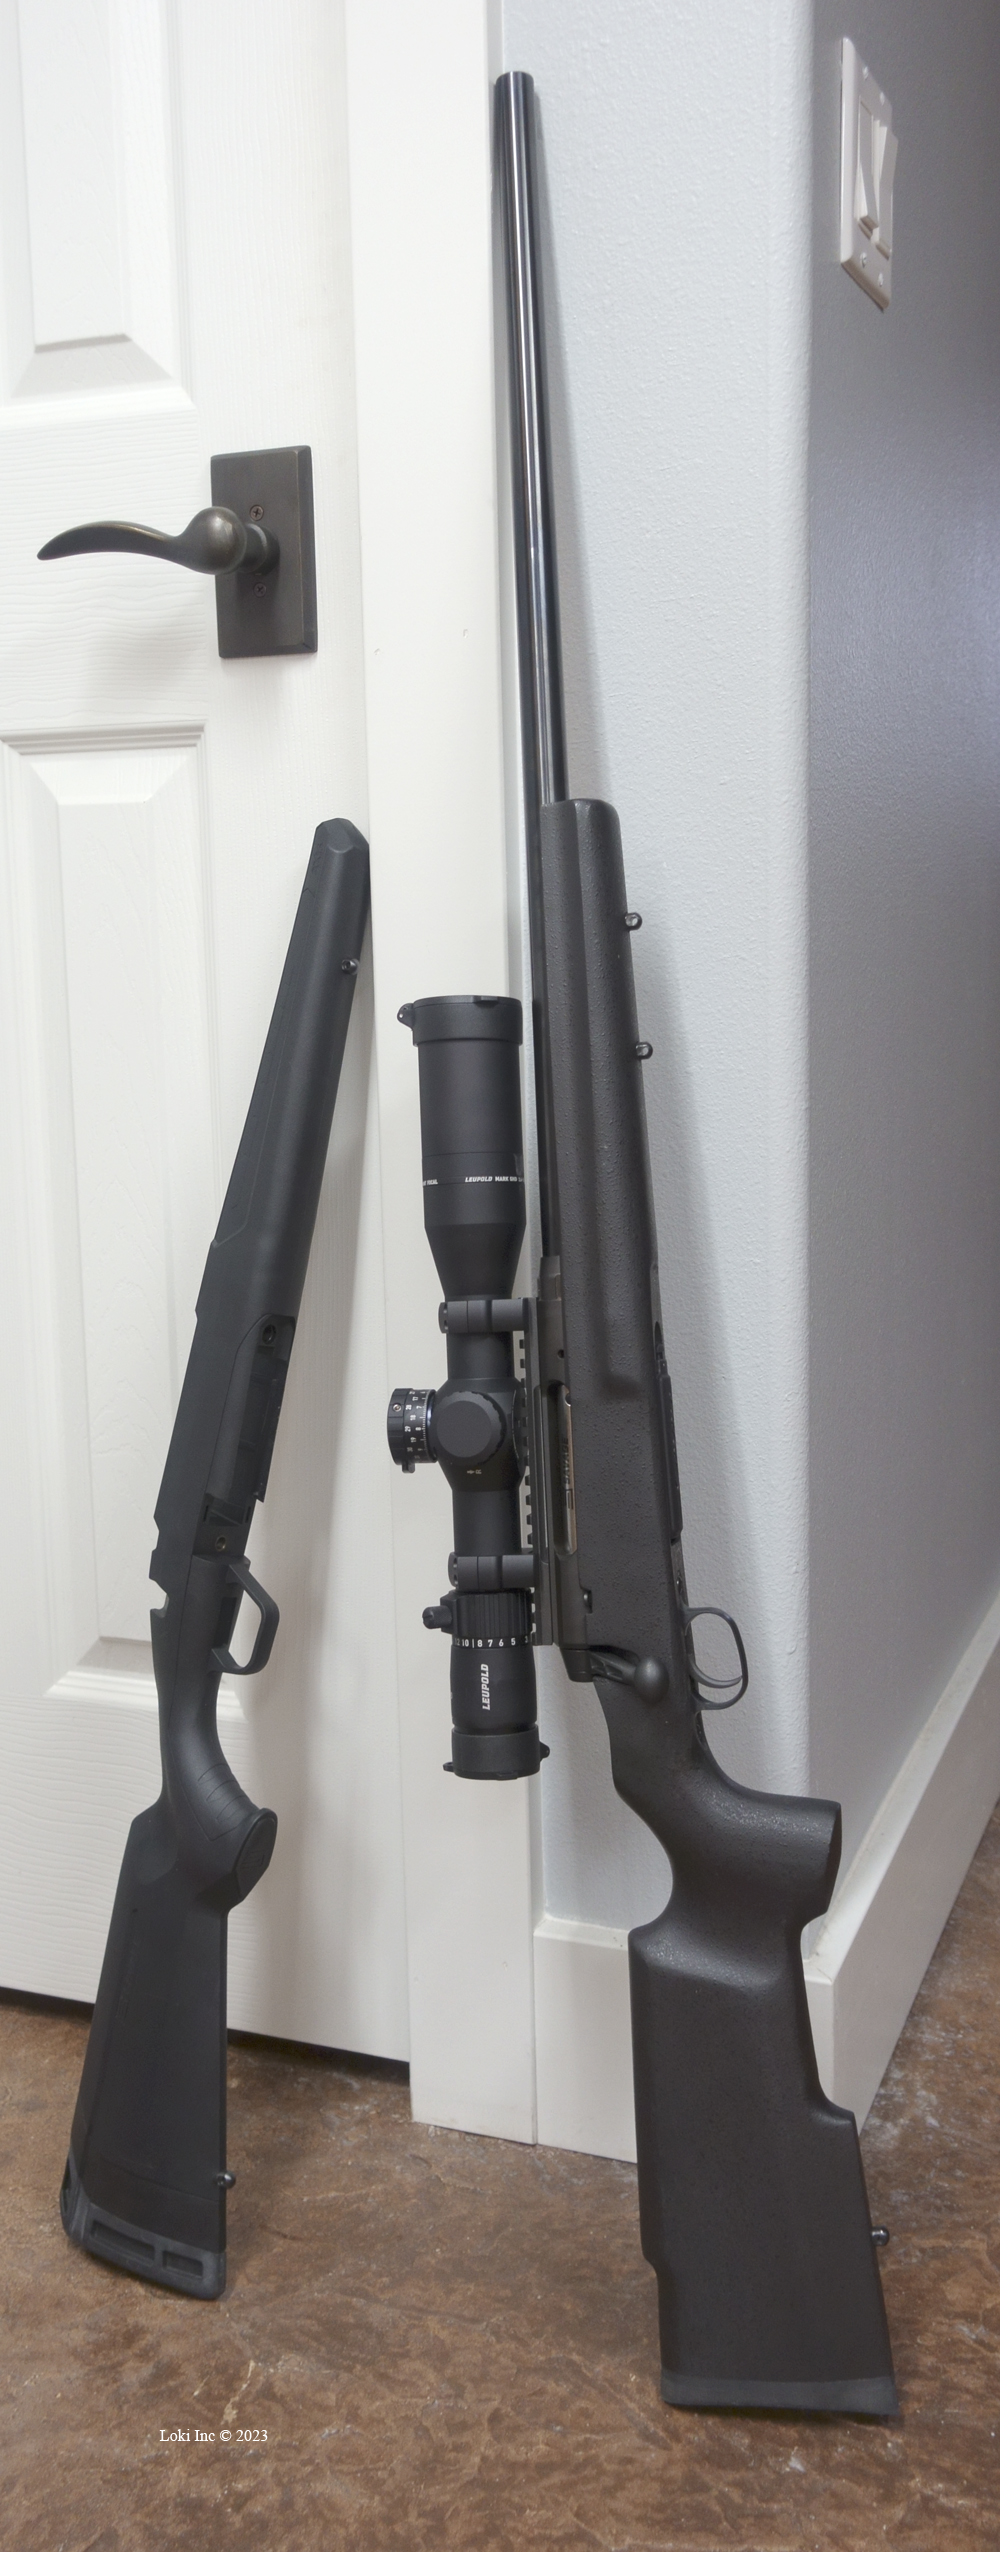
Reworked rifle next to original Savage rifle stock
I now had a well-mounted scope system that, when combined with my new rifle system and tuned handloaded ammunition, proved very accurate at long ranges.
Recent Posts
September 23, 2025.22 Caliber Suppressor Cleaning
August 20, 2025Trophy Hunting – Is it Ethical?
August 6, 2025 July 25, 2025On-Target Performance of Subsonic Ammo in Suppressed Rifles – Hype Versus Reality
July 24, 2025